
Helps keep track of the task at hand, provide an audit trail and accountability. From a SOC perspective, a ticketing system is essential in fulfilling the AAA triad (AAA Framework) – the Accounting (or Auditing) aspect.
The Authentication, authorization, and accounting (AAA) is a security framework that controls access to computer resources, enforces policies, and audits usage. Using a ticketing system will ensure that we can have an accounting system outside of our monitoring systems that tracks the incidents from the point of alerts being triggered, to its assignment to security teams, to its resolution and closure. This applies to every incident in the infrastructure.
– Tickets can include: Alerts, complaints, troubleshooting requests or any other requests
– osTicket | Support Ticketing System
osTicket Setup
We will be installing this application on a Windows Server machine in this Lab. First we install a web server; we will be using the Open Source Xampp
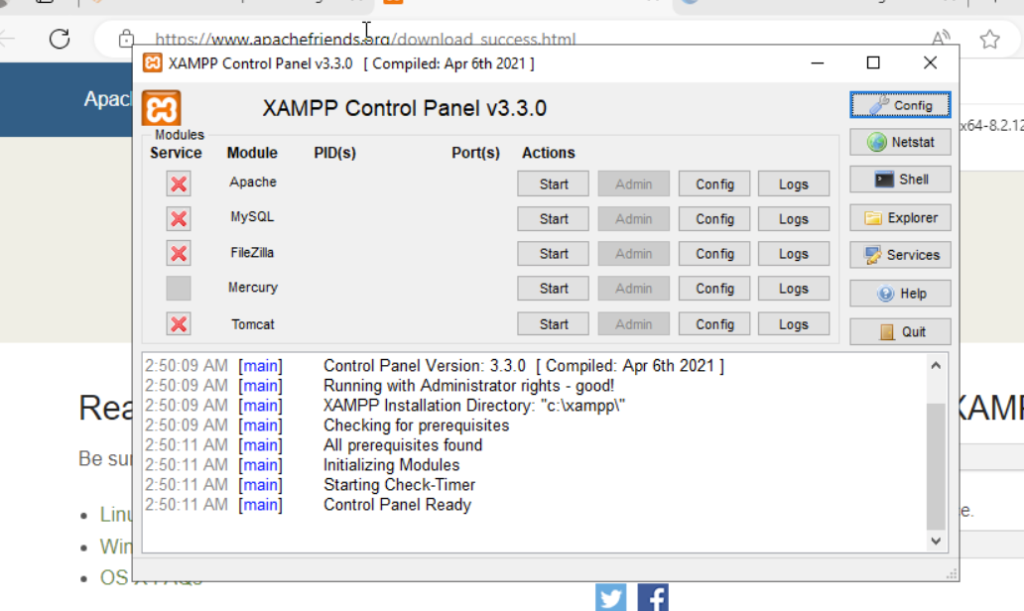
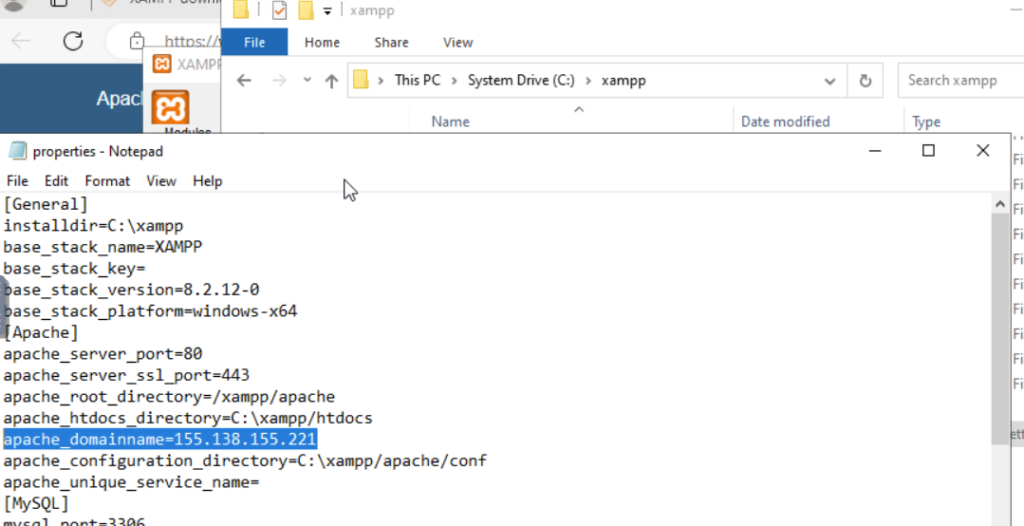
edit the c:\xampp\properties file:
Create a windows endpoint firewall rule
windows > Window defender firewall with advanced security > Inbound rules > New Rule > Rule Type = Port > Select TCP > specific local ports = 80,443…we need to allow inbound connections to port 80 and 443.
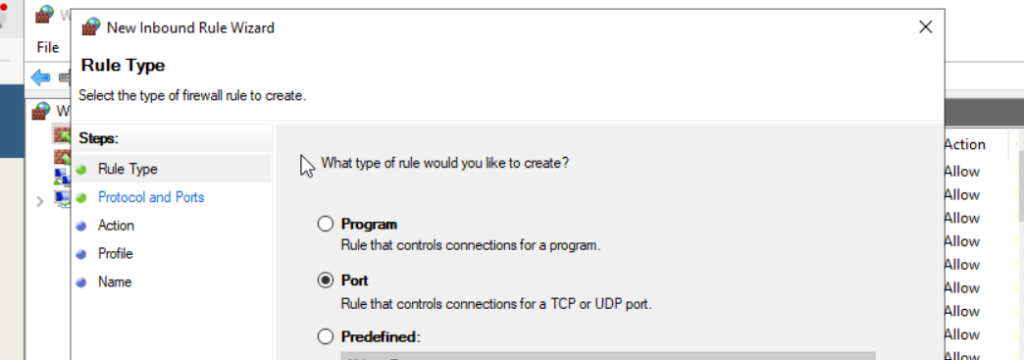

Allow the connection and Give the rule a Name.


In the Xampp control panel, start Apache and MySQL

PhpMyAdmin:
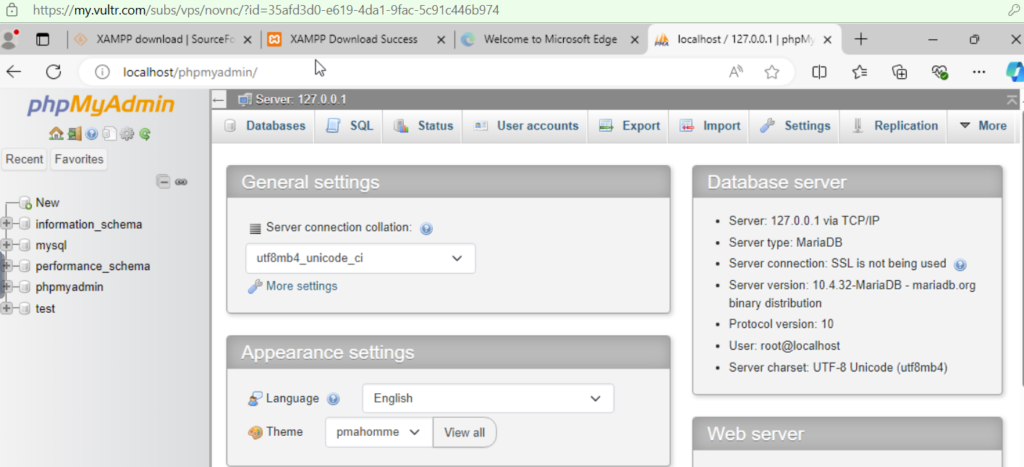
edit the root@localhost account:
Phpmyadmin > user accounts > root@localhoat > login information > Host name, change this to the host IP address, and also change the password.
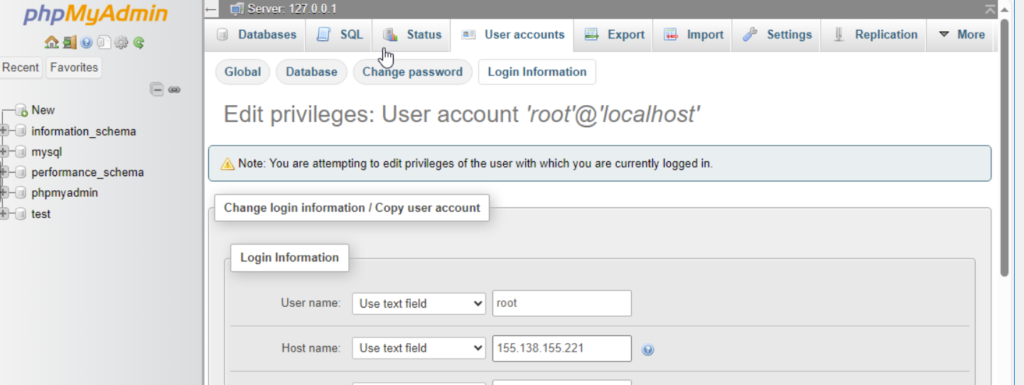

edit the /xampp/phpmyadmin/config.

Repeat these same steps for the pma account in phpmyadmin and login back to phypmyadmin from the Xampp control panel.

Next, download the self-hosted OsTicket executable.
Create a new folder named osTicket in the c:\xampp\htdocs directory and copy in the extracted content of the osTicket download into this folder.
Browse to the server address to see the installation page: follow the instructions…
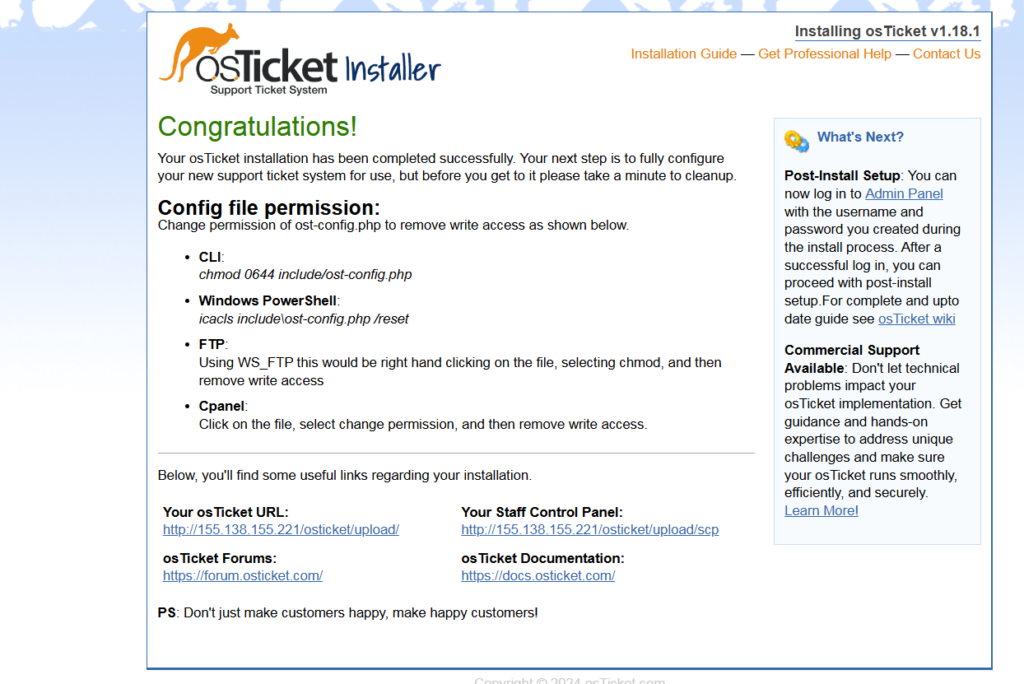
Follow the config file permission instructions above..


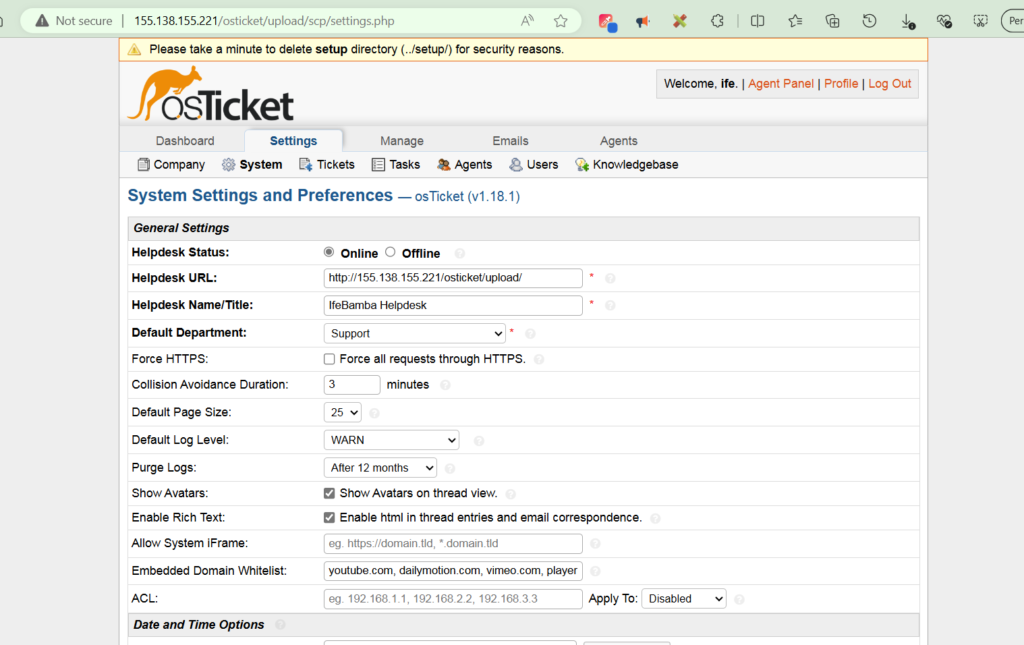
Note: the url for the staff control panel: http://<ip-address/osticket/upload/scp>
osTicket and ELK integration
We want to integrate our osTicket into our ELK stack using its API.
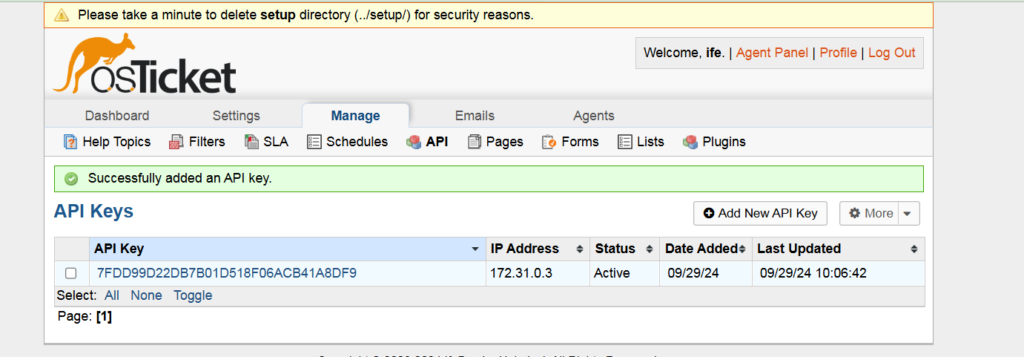
OsTicket > Admin panel > manage > API > Add new API Key (here, we enter the IP address of our ELK server – note we use the private IP address since both servers are in the same VPC internal network)
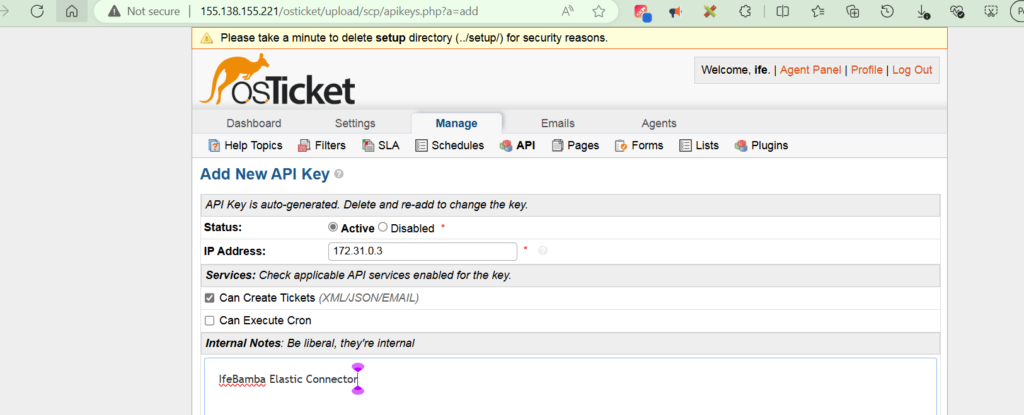
Click on Add Key- we will use this API key below to establish our connection.
Next, we move to our ES server: ES > Management > Stack management > alerts and insights > connectors
Create Connector > we see a myriad of connection options depending on our setup, in our case
in our case, since we are using APIs, we use the Webhoot option

we input our API and connection settings to our osticket server, save and test (note the private IP address we are using)
Next we get a test page to test our API. For this, we refer to the osticket github page for a ticket XML payload test example (since we are using an XML based API): osTicket/setup/doc/api/tickets.md at develop · osTicket/osTicket · GitHub
We copy this code and test it in our connector test
A successful test!
Head back to Osticket > Agent panel (to see if our test was successful) – we see the Testing API connection test
Our osticket has been successfully integrated into our system, ensuring that we have fulfilled an integral part (Accounting/Auditing) of the AAA framework .
(Authentication, authorization, and accounting (AAA) is a security framework that controls access to computer resources, enforces policies, and audits usage. )
With this integration, we can automatically connect our Alerts from ES to Osticket, to automatically create tickets that can be used to track and resolve issues without human escalation.

